![]()
How to create a self extracting file using WinZip
This tutorial is a demonstration of the process of creating a self-extracting zip file using a shareware (not registered) version so that you can learn how to do it on your own before you pay for the registered version. This tutorial is for an older not a current version of winzip.
First double click the icon.
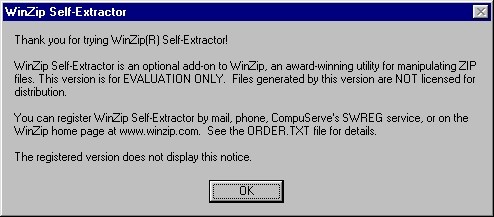
This will come up, letting you know that is the EVALUATION copy. Just Click OK and we will go on.
This is your opportunity to enter your registration code once you buy it, but we won't be doing that now. Once you learn how to use the unregistered version, you will have no trouble using the registered version. Click Next to begin.

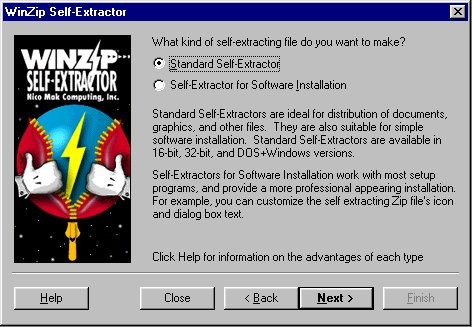
For our purpose here we are going to do the Standard Self-Extract, so just Click Next.
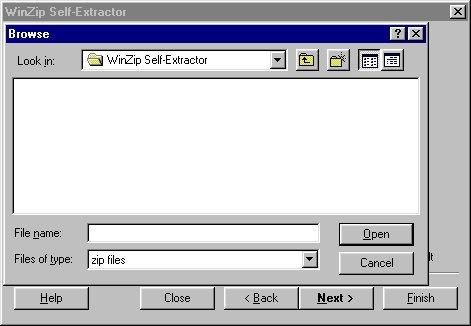
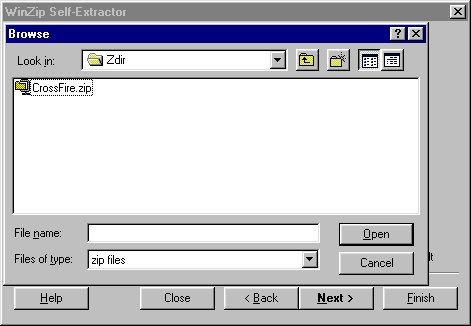
Here the program wants to know the name and location of the .zip file. Click Browse to find it.

This is where most people get lost. Finding there way in the file structure.
Click the down arrow to bring up the menu.
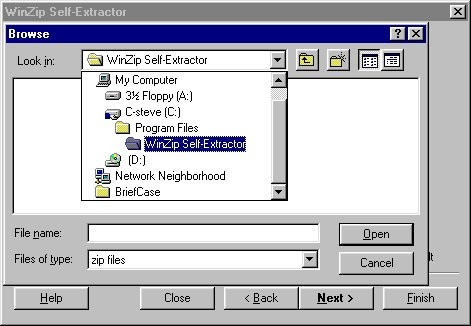
And Click on the C: drive.
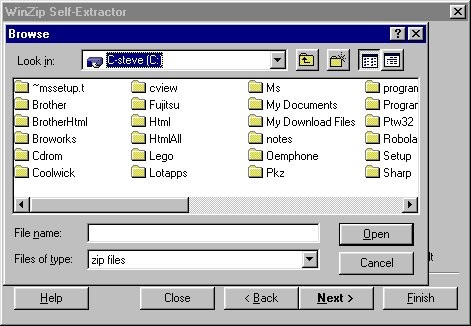
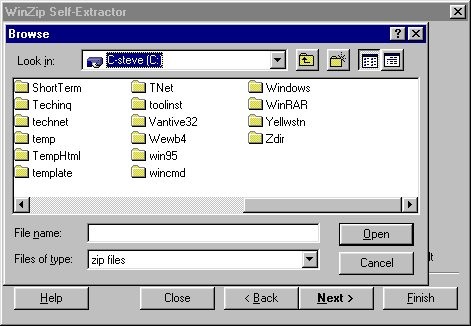
Then scroll over to select the directory where you have the Zip file we are working with here today. Double Click on the directory. I will be using Zdir. This is a temporary directory I use, just for this kind of thing.
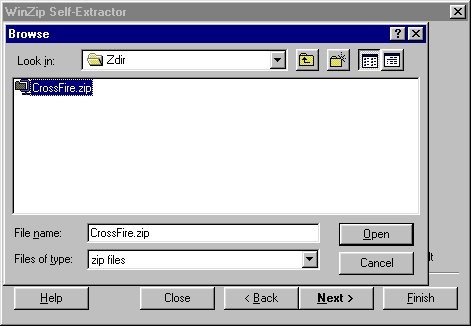
Here is the file we will be working with today. CrossFire.zip. Just click on it.
It appears in the space next to File name near the bottom. Click the Open button.
Now we are back, and we have chosen the file Crossfire in the Zdir directory on the C: drive. Click Next to continue.
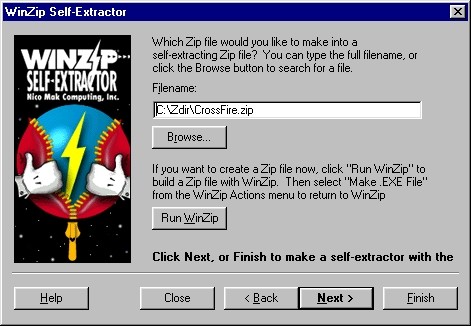
Now if you have a message or set of instructions for the person running your self-extracting zip file, then this is the place to put it in. If you don't, then just Click next. But if you want to include one and you haven't written it yet then Click Run Notepad, write it and save it. You will be returned here. Then you Click Browse.
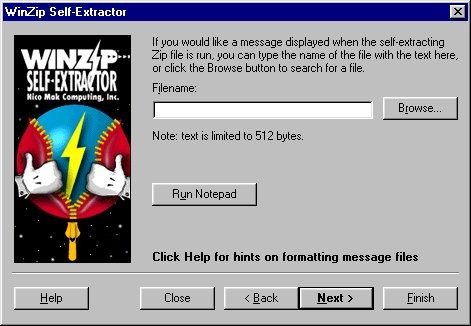
Now that we have decided on the message, let's go on. Click Next.

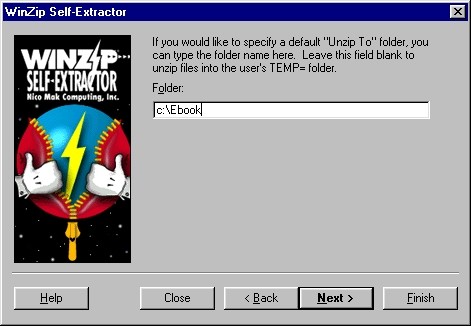
Here we just type in the path we want the extracted file to be written to, and then Click Finish.
This is a warning that we are not worried about, so Click Yes.

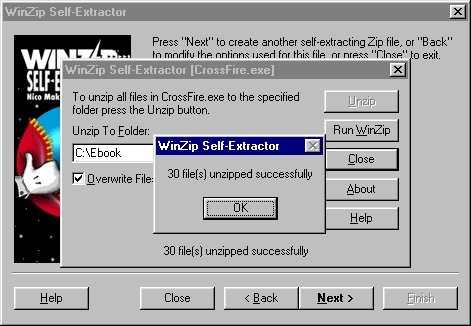
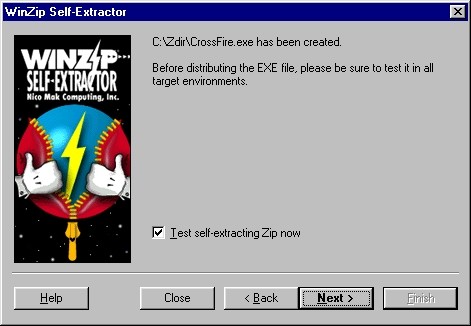
Now it is time to test the file. Click Next.
This is the message we included. Click OK.
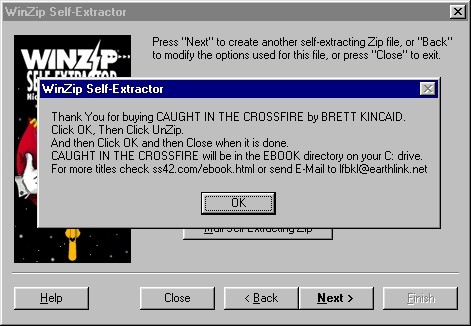
Click OK.

Click Unzip.

It worked. Click OK.
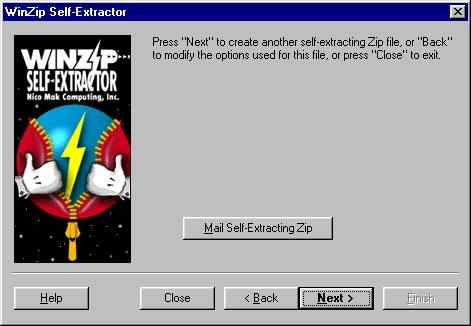
Click Close.
Click Close.
That's it! we are finished.