
![]()
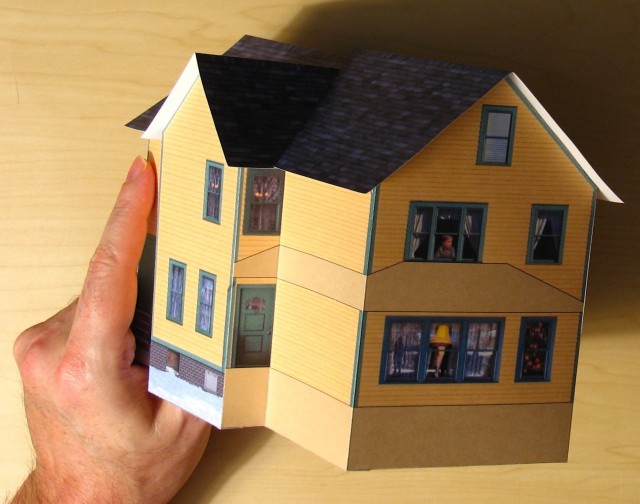
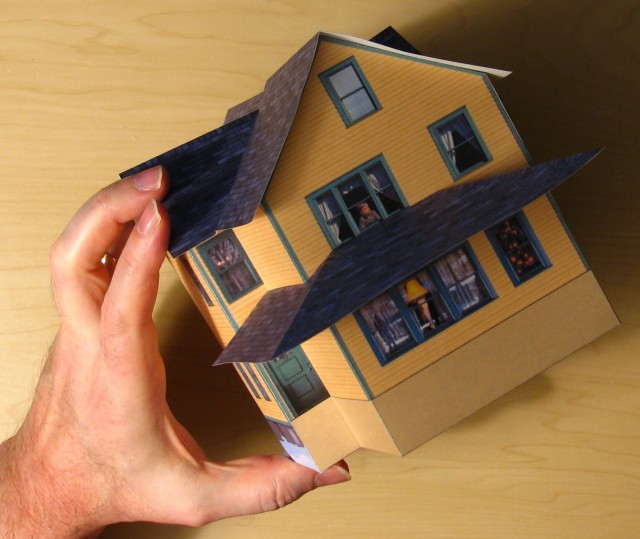
Part One - The Christmas Story House Paper Model Instructions
I want to take a moment to talk about a new feature that I have designed to make scaling paper models a lot easier.
The 1 Inch scale seal
The HO scale seal.
I use these seals to verify that every page is printed with Page Scaling set to None. So when you print out the pages you can measure the seal. If it is one inch square, then the model will be 1:60 or 1:87 (HO) scale. This is very handy if you have to replace a piece and print a page at a different time or on a different printer. As long as the seal is 1 inch square, then the new page will match the rest of your model. If for some reason you print using shrink to fit or some other resizing, then as long as all of the seals are the same size as each other, then the paper model pieces will fit together.
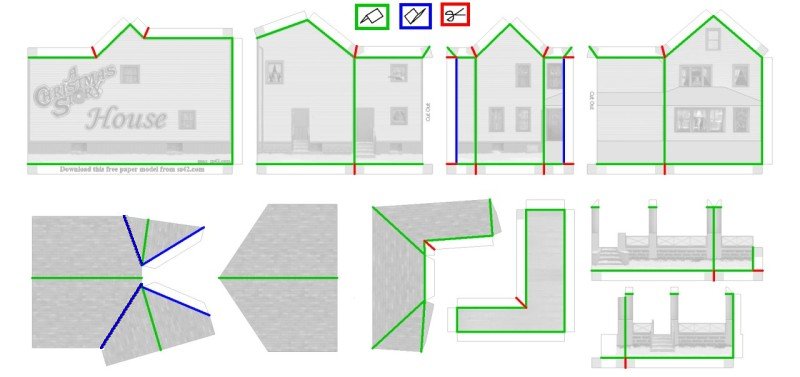
Key Image
This image shows all of the fold and cut lines for the paper model.Paper Modeling Tip: It is always a good idea to score all of the fold lines before cutting out the house.
Page 8 of the paper model PDF file has a condensed version of the instructions.
Tip: I always use a wet PVA glue like Elmers.
After cutting out each piece, fold and put a dot of glue on the gray areas. I use modified clothespin to hold the glue spots together until they dry.
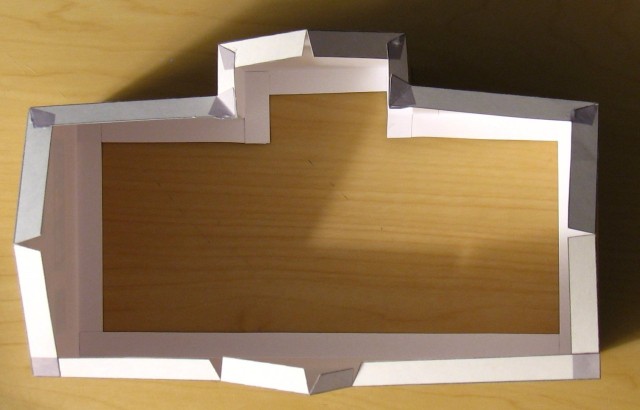
When the glue is dry, then glue the long tabs of the four walls of the house together. After the long tabs are dry, then I glue the gray tabs together. I use LEGOs to help form and hold a 90° angle.
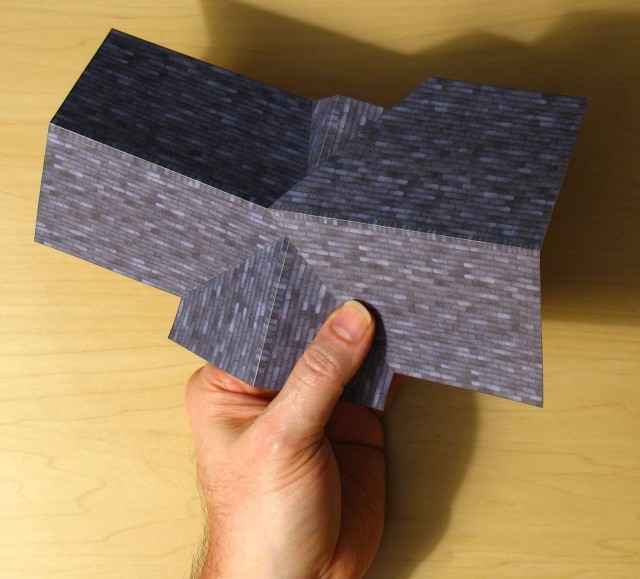
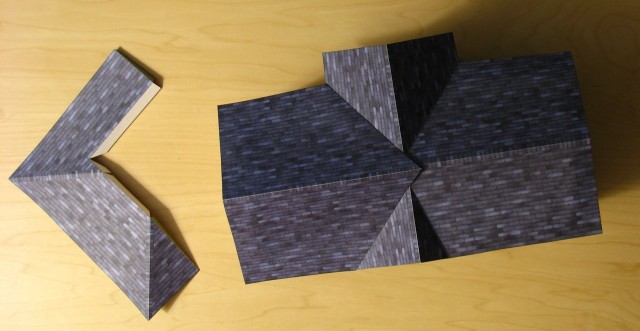
The roof is next. Line up the bottom corners of the 2 roof sections. The roof of this house is two tiers. The roof on the front of the house sits a little bit higher than the back.
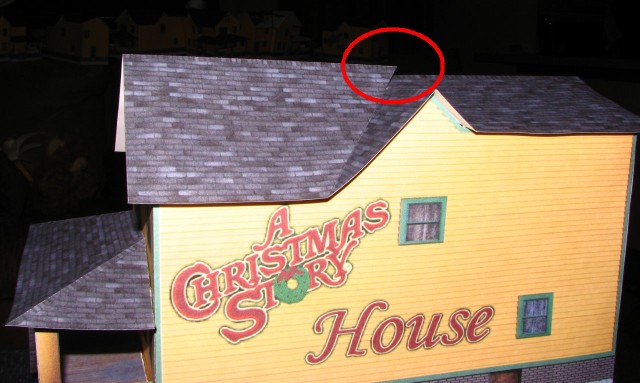
Look closely at the circled area in this picture to see the unique way to front and back roof parts meet.
Once the two parts of the roof is dry, I cover all the tabs on top of the house with glue and apply the whole roof at once. It never lines up perfectly so I slide it into place a little at a time all the way around, again and again.
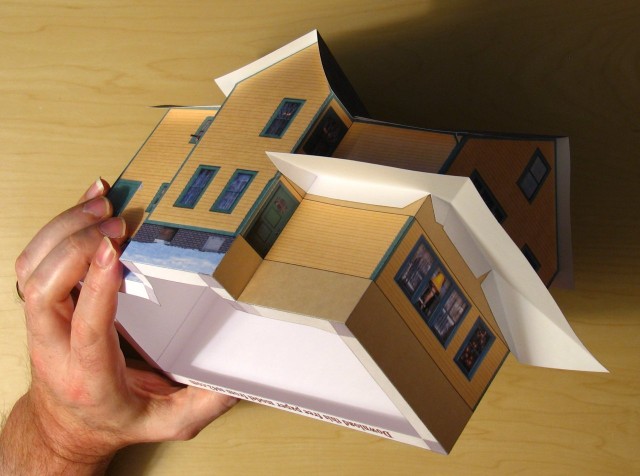
Once the roof on the house is securely in place, it's time to put the porch roof on.
I put glue on all the tabs on of the porch roof all at once. Then I position the porch roof in place and work it in place according to the outline.
I hold each tab for several seconds and then move to the next one, working my way back and forth until the glue is set.
Continue with part two of the instructions for the Christmas Story house free paper model.


|
|